introduction
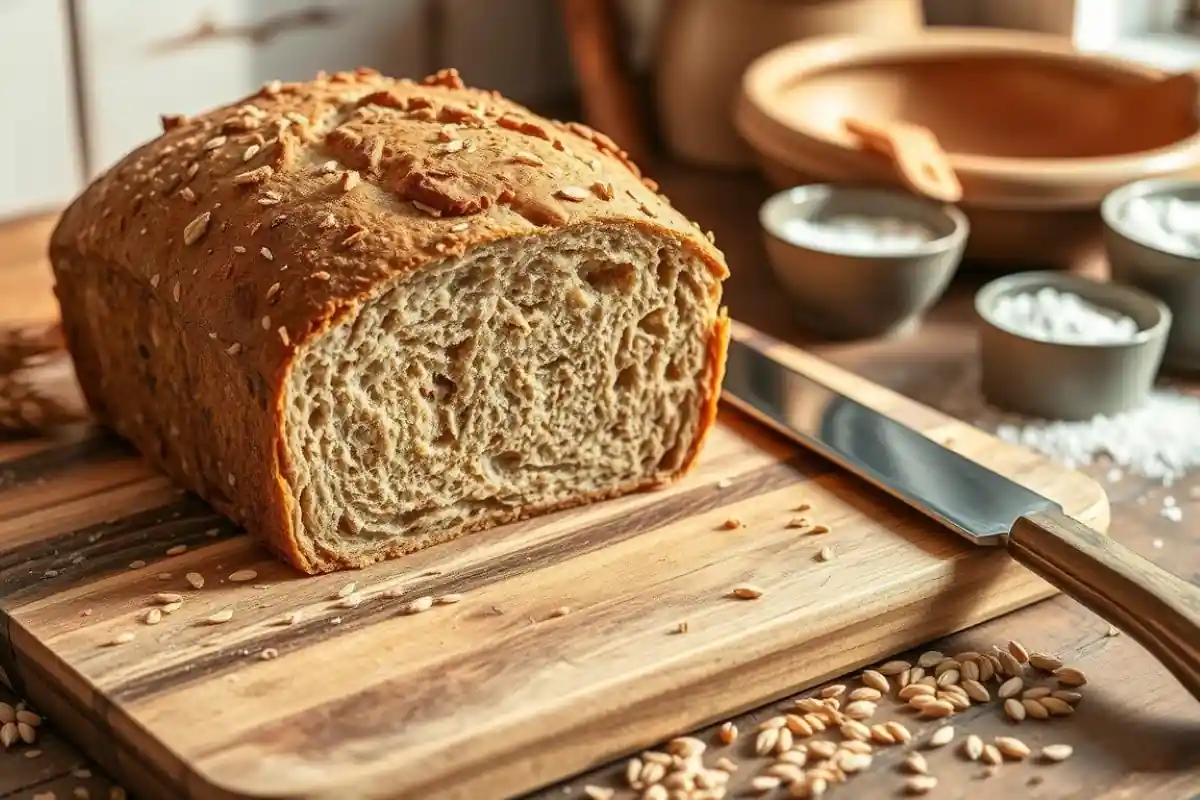
A rustic kitchen scene showcasing a freshly baked loaf of wheatberry bread on a wooden cutting board, surrounded by scattered wheat grains, a small bowl of flour, and a vintage bread knife, warm natural lighting highlighting the golden crust and textured surface of the bread.
Ever wondered how to turn simple wheat berries into a delicious loaf? Your kitchen will smell like an artisan bakery. Wheatberry bread is more than a recipe; it’s a journey into traditional baking and nutrition.
Artisanal baking fans see wheatberry bread as a celebration of whole grains. It’s packed with rich flavors and health benefits. The bread has a unique texture, with the crunch of wheat berries and a soft crumb that will amaze you.
In just four hours, you can make two loaves of wheatberry bread. It will impress your family and friends. With simple ingredients and a love for baking, you’ll create a bread that’s tasty and nutritious.
This guide will help you choose the right wheat berries and master rising and baking. It’s perfect for both seasoned bakers and curious beginners. Get ready for a delicious journey that will improve your home baking skills.
Understanding Wheat Berries and Their Nutritional Benefits

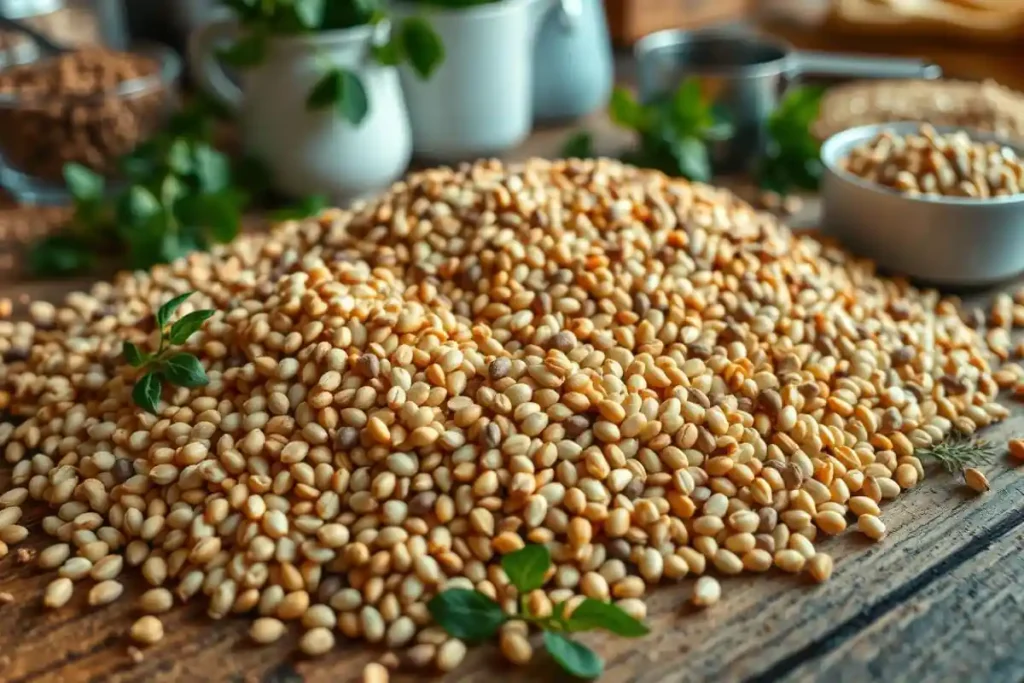
A close-up of a rustic wooden table covered with an assortment of wheat berries in various colors, surrounded by measuring cups, fresh herbs, and scattered grains. Incorporate rich textures and natural light highlighting the grains, with a backdrop of a cozy kitchen setting, emphasizing the wholesome and nutritious aspect of wheat berries.
Wheat berries are the hidden gems of ancient grains. They are the most pure and unprocessed form of wheat. These whole kernels have all three essential parts of the grain: the bran, germ, and endosperm. This makes them a powerhouse of nutrition for your nutritious loaf.
What Are Wheat Berries?
Unlike refined grains, wheat berries are completely intact kernels. They keep all their natural nutrients. Each wheat berry is made up of:
- Endosperm: 80% of the kernel
- Bran: 15% of the kernel
- Germ: 5% of the kernel
Health Benefits and Nutritional Value
Wheat berries are a key part of a high-fiber diet. They provide an impressive array of nutrients. They offer 40 out of 44 essential nutrients needed for human life, making them a true superfood.
Key nutritional highlights include:
- Low glycemic index
- Complex carbohydrates promoting satiety
- Rich in proteins and minerals
- Contains essential B vitamins
Types of Wheat Berries for Baking
Different wheat berry varieties offer unique characteristics for baking:
- Hard White Wheat: Versatile, ideal for bread
- Hard Red Wheat: High protein, strong gluten development
- Soft White Wheat: Perfect for pastries
“Ancient grains like wheat berries are not just food, they’re nutrition in its purest form.” – Nutrition Expert
By adding wheat berries to your baking, you’re choosing a nutrient-dense ingredient. It turns an ordinary loaf into a nutritious powerhouse.
Essential Ingredients for Perfect Wheatberry Bread
Making great wheatberry bread begins with picking top-notch ingredients. These ingredients blend to create a bread with a rich, nutty taste. Knowing each part’s role is key to a successful loaf.

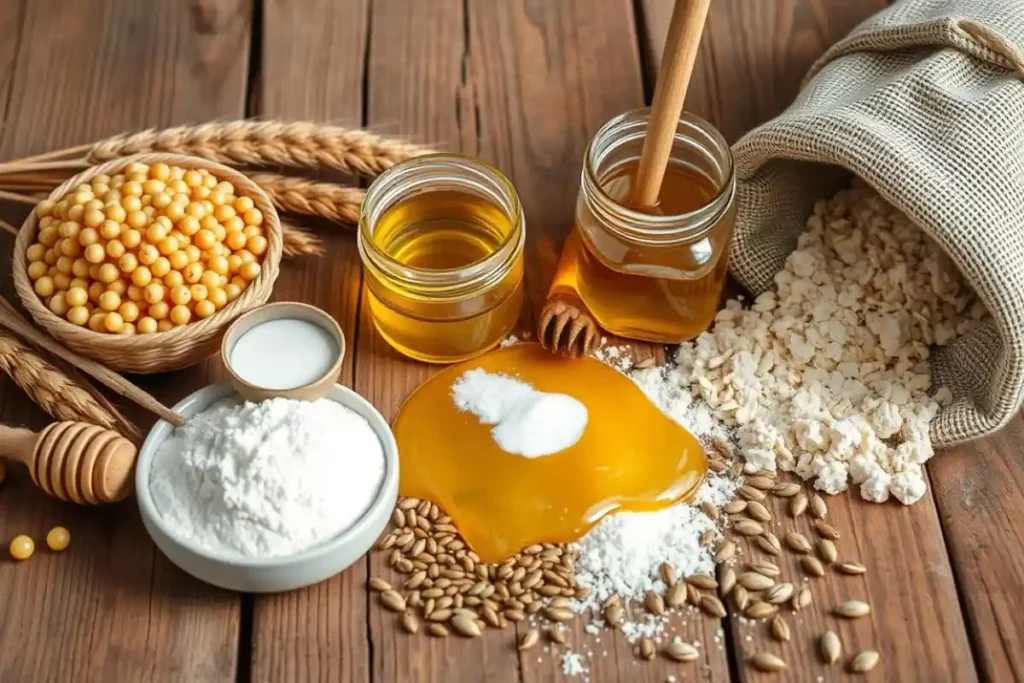
A rustic wooden table adorned with fresh wheatberries, golden honey, a bowl of warm water, a jar of yeast, a scoop of salt, whole wheat flour pouring from a sack, and a scattering of sunflower seeds, all beautifully arranged in natural lighting for a cozy baking atmosphere.
Now, let’s look at the must-have ingredients for a tasty whole wheat loaf:
- Wheat Berries: The star ingredient that provides an authentic nutty flavor
- Bread Flour: Ensures proper protein content for ideal texture
- Whole Wheat Flour: Adds depth and nutritional value
- Active Dry Yeast: Critical for bread rising
- Salt: Enhances flavor and controls yeast growth
- Sugar: Feeds the yeast and adds subtle sweetness
“The secret to exceptional bread lies in the quality of your ingredients.”
When picking wheat berries, think about their traits. Hard wheat berries have more protein, which is great for yeasted breads needing strong structure.
| Wheat Berry Type | Best Used For | Flavor Profile |
|---|---|---|
| Hard Red Wheat | Hearty breads | Strong, robust nutty flavor |
| Hard White Wheat | Lighter breads | Milder, softer taste |
| Kamut | Specialty breads | Rich, buttery undertones |
Pro tip: Using freshly milled whole wheat flour keeps more nutrients. It keeps the wheat berry’s bran and germ intact. This makes your bread more nutritious and tasty.
Equipment and Tools Needed for Baking
Making delicious rustic bread needs more than just ingredients. The right tools can make your baking better. Whether you’re new or experienced, the right tools will help you enjoy baking more.

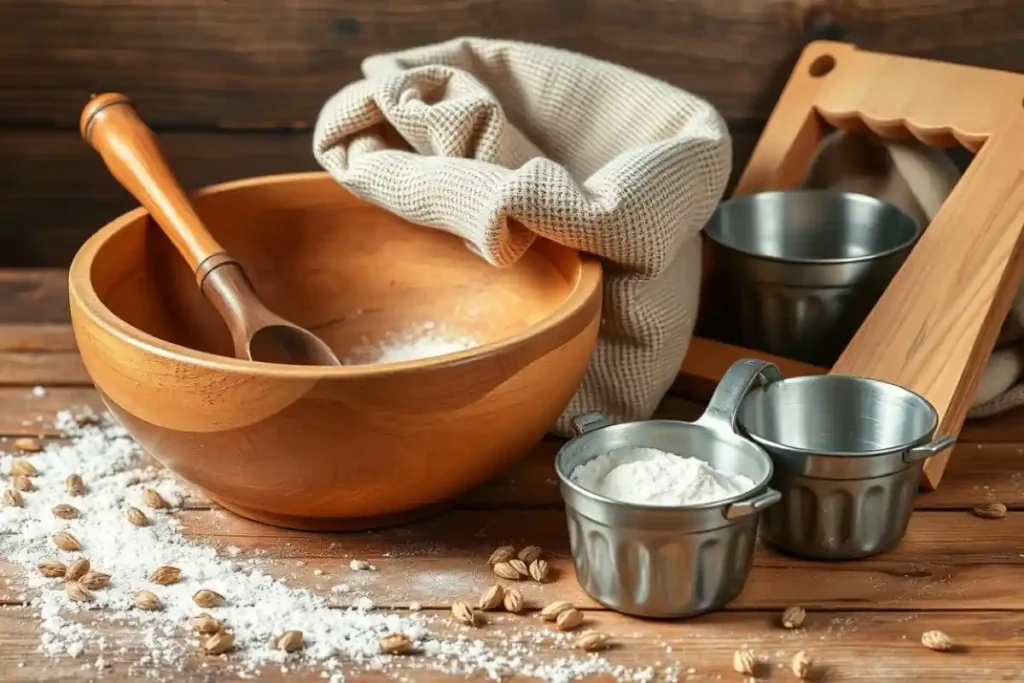
Rustic bread baking tools arranged on a wooden table, featuring a vintage wooden dough bowl, a flour sack, a hand-turned wooden spoon, a rustic bread peel, and a set of measuring cups made from tin, with scattered wheat berries and flour dust for added effect.
Essential Bread Machine and Manual Tools
For rustic bread, you’ll need special and everyday tools. A bread machine can make mixing and kneading easier. But, many like the hands-on feel of manual bread making.
- Mixing Bowls: At least two high-quality bowls for preparing dough
- Measuring cups and scales for precise ingredient portions
- Baking sheets and loaf pans
- Kitchen towels for covering and handling dough
Recommended Specialized Equipment
Some tools can make your rustic bread baking better. The Komo Classic Grain Mill is great for grinding wheat berries. Better Homes & Gardens canisters are perfect for storing up to 8.5 lbs of wheat berries.
- Baking stone for crisp crusts
- Banneton basket for final dough rise
- Bench scraper for handling dough
- Lame for scoring bread
- Cooling rack for proper bread cooling
Optional But Helpful Tools
“The right tools can turn bread baking from a chore into a delightful art.”
For serious rustic bread lovers, think about getting more tools. A silicone pastry mat, USA Pans for different shapes, and a kitchen thermometer for dough temperature are great.
- Grain mill for freshly ground flour
- Gamma Seal Lids for wheat berry storage
- Dutch oven for versatile baking
- Pizza peel for easy bread transfer
Preparing and Softening Wheat Berries
Making the perfect wheatberry bread begins with softening your wheat berries right. These grains need careful handling to get the right texture in your bread. Knowing the best ways to prepare them will make your loaf taste amazing and feel great in your mouth.
There are three main ways to soften wheat berries:
- Overnight Soaking: Soak wheat berries in boiling water for about 3 minutes, then let them rest for 45 minutes. This method helps break down the grains and reduce cooking time.
- Stovetop Cooking: Boil wheat berries using a 2-to-1 water-to-grain ratio. Typically, cooking takes 20 minutes on medium heat, stirring occasionally.
- Microwave Method: Quick-soften wheat berries by microwaving for approximately 10 minutes with the appropriate water ratio.
“The key to a perfect hearty texture is understanding how to prepare your wheat berries just right.”
Here are some important tips for preparing wheat berries:
- Use fresh, high-quality wheat berries
- Measure water carefully to ensure proper hydration
- Watch for grains that start to pop open, indicating they’re soft
- Drain excess water to maintain the ideal moisture level
Try adding about 1 cup of cooked wheat berries to your dough. This amount adds a hearty texture without overpowering the other ingredients. Try different methods to find what works best for your wheat berries and the bread you want.
Creating the Perfect Dough Mixture
Making the perfect wheatberry bread dough needs precision and knowing how ingredients work together. Your journey to a tasty loaf starts with learning how to prepare the dough.
Starting a sourdough fermentation means understanding the balance of ingredients and how to mix them. Let’s look at the important parts that turn simple ingredients into a great bread dough.
Precise Ingredient Ratios
When making your wheatberry bread, keep these ingredient ratios in mind:
- Use a 60/40 mix of all-purpose and whole wheat flour
- Add 1 cup of cooked wheat berries
- Keep the water-to-flour ratio right for good hydration
Professional Mixing Techniques
Your mixing method affects the bread’s texture. The best mixing time is about 10 minutes. This lets gluten develop fully.
Professional bakers see dough development as an art, needing patience and detail.
Dough Consistency Tips
| Dough Characteristic | Ideal Condition |
|---|---|
| Stickiness | Sticks to pan sides, pulls away cleanly |
| Texture | Smooth and increasingly shiny |
| Gluten Development | Elastic and stretchy |
During sourdough fermentation, look for these signs of perfect dough consistency. The dough should go from sticky to smooth, showing good gluten development.
Remember, practice makes perfect when creating your wheatberry bread dough!
The Art of Wheatberry Bread Kneading
Kneading turns your wheatberry dough into a work of art. This step is key to making the bread’s texture and structure. Your hands are the main tools for creating amazing homemade bread.
“Kneading is where bread truly comes alive – it’s the moment of magic between ingredients and creation.”
To knead well, you need to know a few things:
- Use the heel of your hand to push and fold the dough
- Rotate the dough quarter turns to ensure even development
- Watch for a smooth, elastic consistency
Kneading is more than a technique; it’s an art. You should knead your dough for about 10 minutes. You’re aiming for a dough that’s smooth, stretchy, and bounces back when pressed.
Professional bakers look for these signs of good kneading:
- Windowpane test: Stretch a small piece of dough—it should become thin enough to see light through without tearing
- Smooth surface with no raggedness
- Elastic feel with resistance when stretched
Pro tip: Temperature matters! Aim to knead in a warm environment around 75-80°F for optimal gluten development.
Rising and Proofing Techniques
Mastering the rising process is key to making perfect rustic bread. The fermentation stages turn your wheatberry dough into a tasty, airy loaf. Knowing the rising process well will boost your bread-making skills.
First Rise Guidelines
The first rise, or bulk fermentation, brings deep flavors to your rustic bread. The right conditions are important:
- Keep the temperature around 80°F
- Cover the dough with a damp cloth to prevent drying
- Allow about 3.5 hours for the best volume
“Pay attention to the dough, not the clock” – Artisan Baking Wisdom
Second Rise Tips
The second rise, or final proof, gives your rustic bread its unique texture. Important points to remember are:
- Shape the dough carefully to keep its structure
- Let it rise for 1 to 1.5 hours until it doubles in size
- Try a cold fermentation in the fridge for better flavor
Pro tip: A 36-hour final proof can greatly enhance your rustic bread’s taste and complexity.
Baking Methods and Temperature Control
Mastering the art of artisanal baking is all about controlling the temperature when making wheatberry bread. Your oven is key in turning dough into a golden, crusty loaf.
Understanding temperature is vital for artisanal baking. Experts suggest the following steps:
- Preheat your oven to 450°F (230°C)
- Reduce temperature to 375°F after initial 15 minutes
- Bake for total 35-40 minutes
“Temperature control is the secret weapon of exceptional bread making.” – Artisan Bread Professionals
Steam is important for that unique artisanal crust. You can make steam by:
- Placing a water-filled metal pan on the bottom rack
- Spraying water into the oven before placing bread
- Using a Dutch oven with a lid
| Baking Stage | Temperature | Duration |
|---|---|---|
| Initial Baking | 450°F (230°C) | 15 minutes |
| Final Baking | 375°F (190°C) | 20-25 minutes |
Pro tip: Always tent your bread with aluminum foil if browning occurs too quickly to prevent burning.
Achieving the Perfect Crust and Texture
Making wheatberry bread with a great crust and inside needs skill. The right steps make your bread stand out. It highlights the bread’s hearty texture and nutty taste.
Your aim is a deep tawny brown crust that pulls away from the pan. The outside should be crisp and golden, breaking nicely when cut.
Crust Development Techniques
- Use steam during the first 15 minutes of baking to create a crisp exterior
- Preheat your baking stone or dutch oven to 450°F
- Spray water into the oven to generate additional moisture
- Score the bread’s surface to allow controlled expansion
Interior Texture Goals
To get a hearty texture, prepare carefully. Your wheatberry bread should have visible wheat kernels. They add a nice nutty flavor and a thick feel.
| Texture Characteristic | Desired Outcome |
|---|---|
| Crumb Density | Light but substantial |
| Wheat Berry Distribution | Even throughout loaf |
| Moisture Level | Soft and tender |
“The secret to perfect wheatberry bread lies in balancing moisture, temperature, and technique.”
By using these techniques, you’ll make a bread with a stunning outside and a welcoming inside. It will show off the wheat berries’ natural, hearty texture and nutty flavor.
Storage and Preservation Tips
Keeping your homemade wheatberry bread fresh is key. A good loaf needs the right care to stay tasty and soft. The right way to store it can make your bread last longer, so you can enjoy every bite.
- Room temperature storage works best for 2-3 days
- Refrigeration can extend freshness up to a week
- Freezing preserves bread for up to three months
Temperature is very important for keeping bread fresh. Wheat berries stored right can stay good for a long time:
| Storage Location | Temperature Range | Expected Shelf Life |
|---|---|---|
| Pantry/Basement | 50-75°F | 1 year |
| Refrigerator | 40-60°F | 2 years |
| Freezer | Below 32°F | Indefinite |
Here are some tips for keeping your bread fresh:
- Use airtight containers to prevent moisture
- Keep bread away from direct sunlight
- Slice only what you’ll consume immediately
“Proper storage transforms a good bread into a great experience” – Artisan Baker
For keeping bread for a long time, try vacuum-sealing or Mylar bags. These methods keep your bread and wheat berries dry. This way, your loaf stays fresh and delicious.
Troubleshooting Common Issues
Making the perfect wheatberry bread takes patience and practice. Even skilled bakers face challenges that can affect their bread. Knowing these common issues can help you make delicious bread every time.
Texture Challenges in Bread Making
Getting the right bread texture can be hard. Dense or heavy loaves often come from certain baking conditions. Here are some key things to check:
- Make sure your yeast is fresh and active
- Check the moisture of your flour
- Use the right kneading technique
- Keep the dough at the right temperature (74-78°F)
Rising and Fermentation Issues
Bread rising depends on many factors. When using whole wheat flour, pay close attention to these points:
- Use the right amount of yeast:
- 1.6-1.8% for slow-proofing
- 0.8-0.9% for active yeast
- 0.5-0.6% for instant yeast
- Watch the fermentation time closely
- Blend whole wheat with white flour for better volume
Baking Challenges and Solutions
Artisanal baking needs careful attention to detail. Overcome common baking problems by understanding flour and techniques:
“Success in bread making comes from understanding your ingredients and respecting their unique properties.”
- Adjust water hydration for whole wheat flour
- Handle dough gently to prevent tearing
- Use a 50/50 flour blend to improve loaf volume
- Control oven temperature and baking time
With practice and knowledge, you’ll become a pro at making perfect wheatberry bread every time.
Conclusion
Making wheatberry bread at home is more than a skill. It’s a way to eat healthier. By learning this recipe, you’ve found a food full of vitamins, minerals, and fiber. Every slice you make is a choice for better nutrition and health.
Your homemade wheatberry bread is very good for you. It has about 3g of protein and a low glycemic index. This means it helps keep your blood sugar stable and gives you energy for a long time. It also has a lot of fiber, which is great for your digestion and gut health.
As you keep baking, remember that practice makes perfect. Try new spreads, use the bread in different meals, and tweak recipes. This will help you make your own special wheatberry bread. Whether it’s for breakfast toast or lunch sandwiches, your skills will make meals delicious and healthy.
Start exploring the world of ancient grains and homemade bread. Your effort to learn about ingredients, techniques, and healthy meals is a big step. Keep trying new things, keep baking, and enjoy the tasty outcomes of your wheatberry bread journey.
FAQ
What exactly are wheat berries ?
Wheat berries are the whole wheat kernel, including the bran, germ, and endosperm. They are unprocessed wheat grains. They offer all the nutritional benefits of the entire wheat grain, packed with fiber, protein, vitamins, and minerals.
Are wheat berries different from whole wheat flour ?
Yes, they are. Wheat berries are the whole, intact grains. Whole wheat flour is ground from these grains into a fine powder. Using whole wheat berries in bread gives a more textured and nutty flavor than flour alone.
How long does it take to prepare wheat berries for bread ?
It takes about 45-60 minutes to prepare wheat berries. This includes soaking for 8-12 hours or overnight and cooking for 30-45 minutes. Some bakers prepare them in advance to save time.
Can I make wheatberry bread without a bread machine ?
Absolutely! You can make wheatberry bread without a bread machine. You’ll need mixing bowls, a sturdy surface for kneading, and a baking sheet or Dutch oven for baking.
How do I store homemade wheatberry bread ?
Store your wheatberry bread in a paper bag or bread box at room temperature for 2-3 days. Wrap it tightly in plastic wrap and freeze for up to 3 months for longer storage. Always let the bread cool completely before storing.
Is wheatberry bread good for a high-fiber diet ?
Yes! Wheatberry bread is great for a high-fiber diet. The whole wheat berries are full of fiber, providing more nutritional benefits than white bread. One slice can help meet your daily fiber needs.
What gives wheatberry bread its distinctive nutty flavor ?
The nutty flavor comes from the wheat berries themselves. Including whole wheat berries in your bread keeps their natural, slightly earthy taste. Sourdough fermentation can also enhance this nutty, complex flavor.
Can I use different types of wheat berries in my bread ?
Yes! There are several types of wheat berries, like hard red wheat, soft white wheat, and durum wheat. Each type has different protein content and flavor. This lets you experiment and find the perfect taste and texture for your homemade bread.

